Introduction
Since GHOST Node is based on substrate, the same library Polkadot is based on, it stands to reason that its possible to make GHOST Node work on Polkadot JS website with Polkadot JS Extension.
TLDR How To
- Turn your GHOST Node into a RPC endpoint on your local network
- Plug the local RPC URL into Polkadot JS Website
- Import GHOST Node accounts into Polkadot JS Extension
and Presto! You can monitor/manage your GHOST Node via a website, instead of the terminal!
Why use the Polkadot Website
Polkadot.js Apps uses the node’s RPC interface to provide a user-friendly GUI for:
-
Account Management: Creating, importing, and exporting accounts (including raw seed import).
-
Transaction Submission: Sending funds, staking, voting, and interacting with any pallet’s extrinsics.
-
Chain State Queries: Browsing blocks, querying storage, and inspecting runtime metadata.
-
Basic Node Info: Viewing the node’s chain name, health, peers, and versionPolkadot.js Apps uses the node’s RPC interface to provide a user-friendly GUI.
Actual How To
- Have a working GHOST Node, follow all the guides here.
- Get inside the GHOST Node via terminal and run:
sudo cat /etc/default/ghost
Output should be something like this:
GHOST_CLI_ARGS="--port=30340 --rpc-port=9945 --chain=/etc/ghost/casper.json --node-key-file=/etc/ghost/node-key --validator --no-prometheus --name='random_name' --bootnodes=/dns/bootnode69.chain.ghostchain.io/tcp/30334/p2p/12D3KooWF9SWxz9dmy6vfndQhoxqCa7PESaoFWEiF8Jkqh4xKDRf --base-path=/var/lib/ghost --state-pruning=archive --blocks-pruning=archive --no-private-ip --rpc-methods=auto --no-mdns --telemetry-url='wss://telemetry.ghostchain.io/submit/ 9'"
- You have to add 2 flags and change 1 flag in your CLI arguments:
Add 2 flag:
--rpc-external --rpc-cors=all
And Change --rpc-methods flag from:
--rpc-methods=auto
to:
--rpc-methods=safe
You can do so via any editor for example nano:
sudo nano /etc/default/ghost
Make all the changes and make sure to save!
If you run the cat command again your CLI arguments should look something like this:
GHOST_CLI_ARGS="--port=30340 --rpc-port=9945 --chain=/etc/ghost/casper.json --node-key-file=/etc/ghost/node-key --no-prometheus --name='random_name' --bootnodes=/dns/bootnode69.chain.ghostchain.io/tcp/30334/p2p/12D3KooWF9SWxz9dmy6vfndQhoxqCa7PESaoFWEiF8Jkqh4xKDRf --base-path=/var/lib/ghost --state-pruning=archive --blocks-pruning=archive --no-private-ip --rpc-methods=safe --rpc-external --rpc-cors=all --no-mdns --telemetry-url='wss://telemetry.ghostchain.io/submit/ 9'"
Restart ghost-node:
sudo systemctl restart ghost-node
Finally take note of your rpc-port. It should be 9945 by default.
- Copy Secret Seed for you Stash Wallet
Run
cat /etc/ghost/stash-key
Save that string for later. You are now done with the terminal portion!
-
Go to Polkadot JS Website and Install Polkadot JS Extension.
-
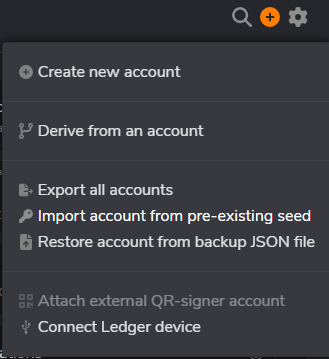
Open Polkadot JS Extension and import account from pre-existing seed
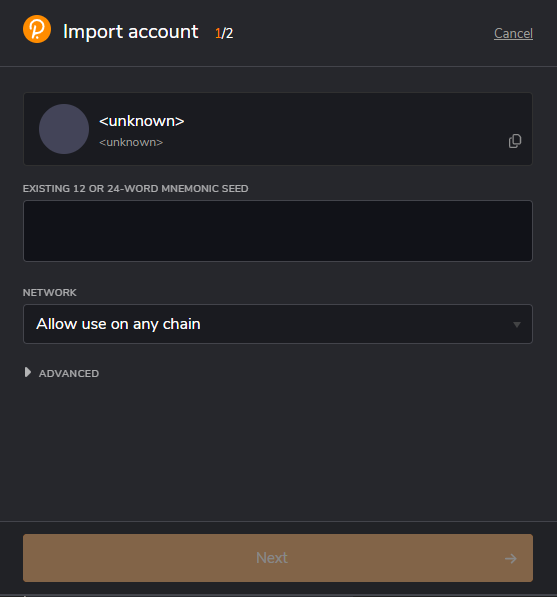
Paste the Secret Seed from Step 4 into the text box, click Next. Create a secure password, give the a account name.
Now you should see something like this in your Polkadot JS Extension:

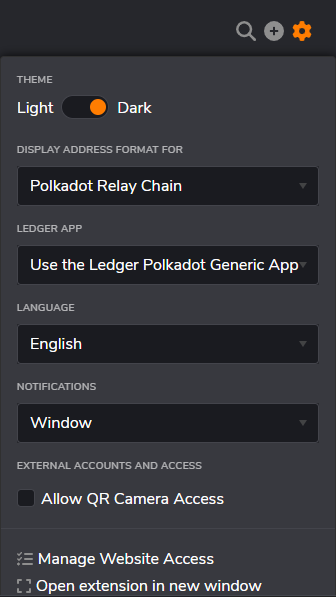
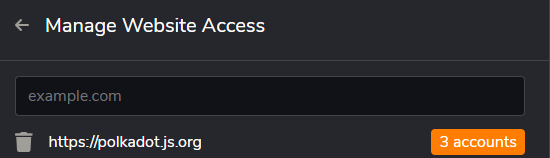
- Allow your Stash Address to talk to Polkadot JS Website. Go to Setting > Manage Website Access > https://polkadot.js.org > Connect your Stash Address
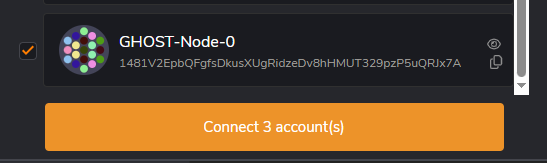
Now you might be thinking that the address in the extension DOES NOT match your sf address, and you would be correct! This is because Polkadot JS Extension uses the same Secret Seed but different Chain ID and Prefix to visualize addresses.
Here is how we fix it. We make the Polkadot Extension exclusive to CASPER STAGING TESTNET.
Update the metadata by going to Setting in the Polkadot JS Website. Under Extensions select Polkadot JS. Click Update Metadata, and approve the action.

You now have CASPER STAGING TESTNET inside your Polkadot Extension. Now open the extension and click the 3 dots for your Stash Account:

In the dropdown Allow on any chain, select CASPER STAGING TESTNET.
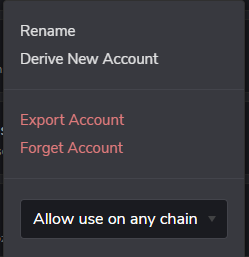
You Stash Account should transform to an sf address.

- This is where the magic happens! Go to Polkadot JS Website, it should look something like this:
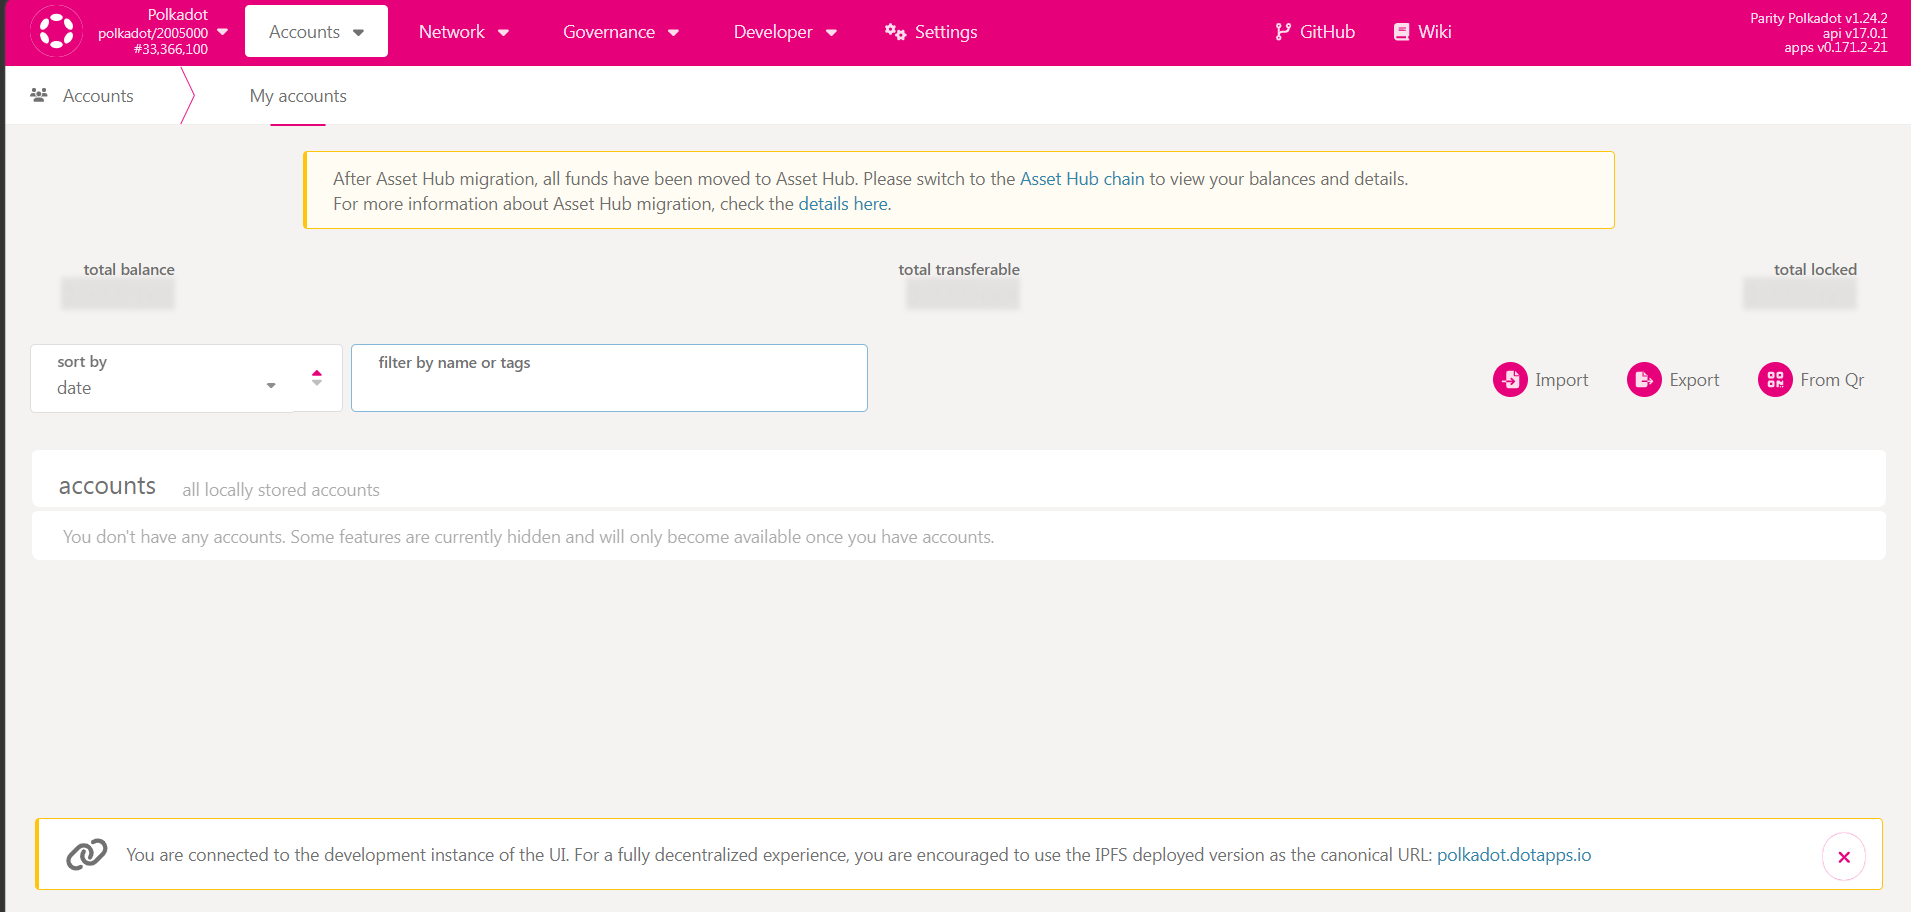
Click on the very right to open the Chain Selector Menu:
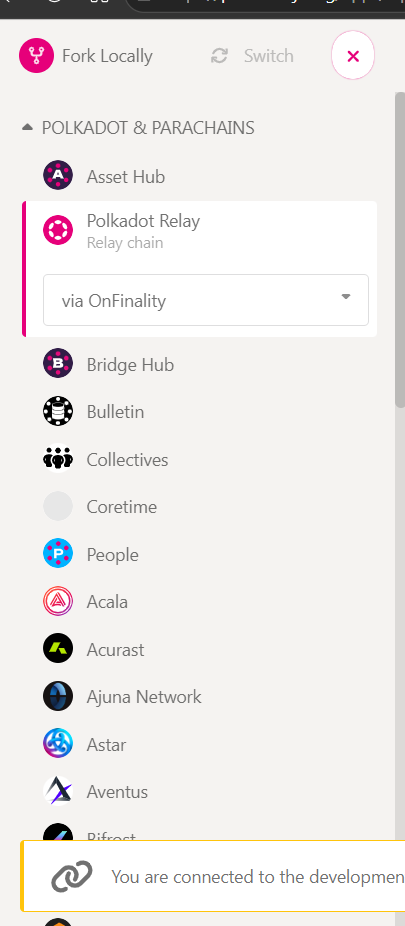
Under the Development Section, change custom endpoint to, and click SAVE:
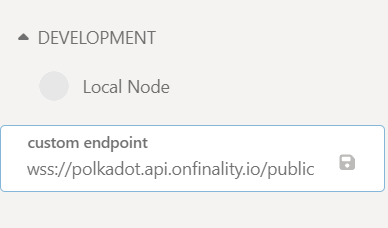
ws://localhost:9945
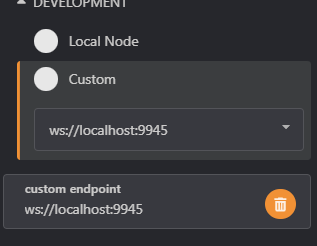
Refresh the website! Now It should transform to look like this:
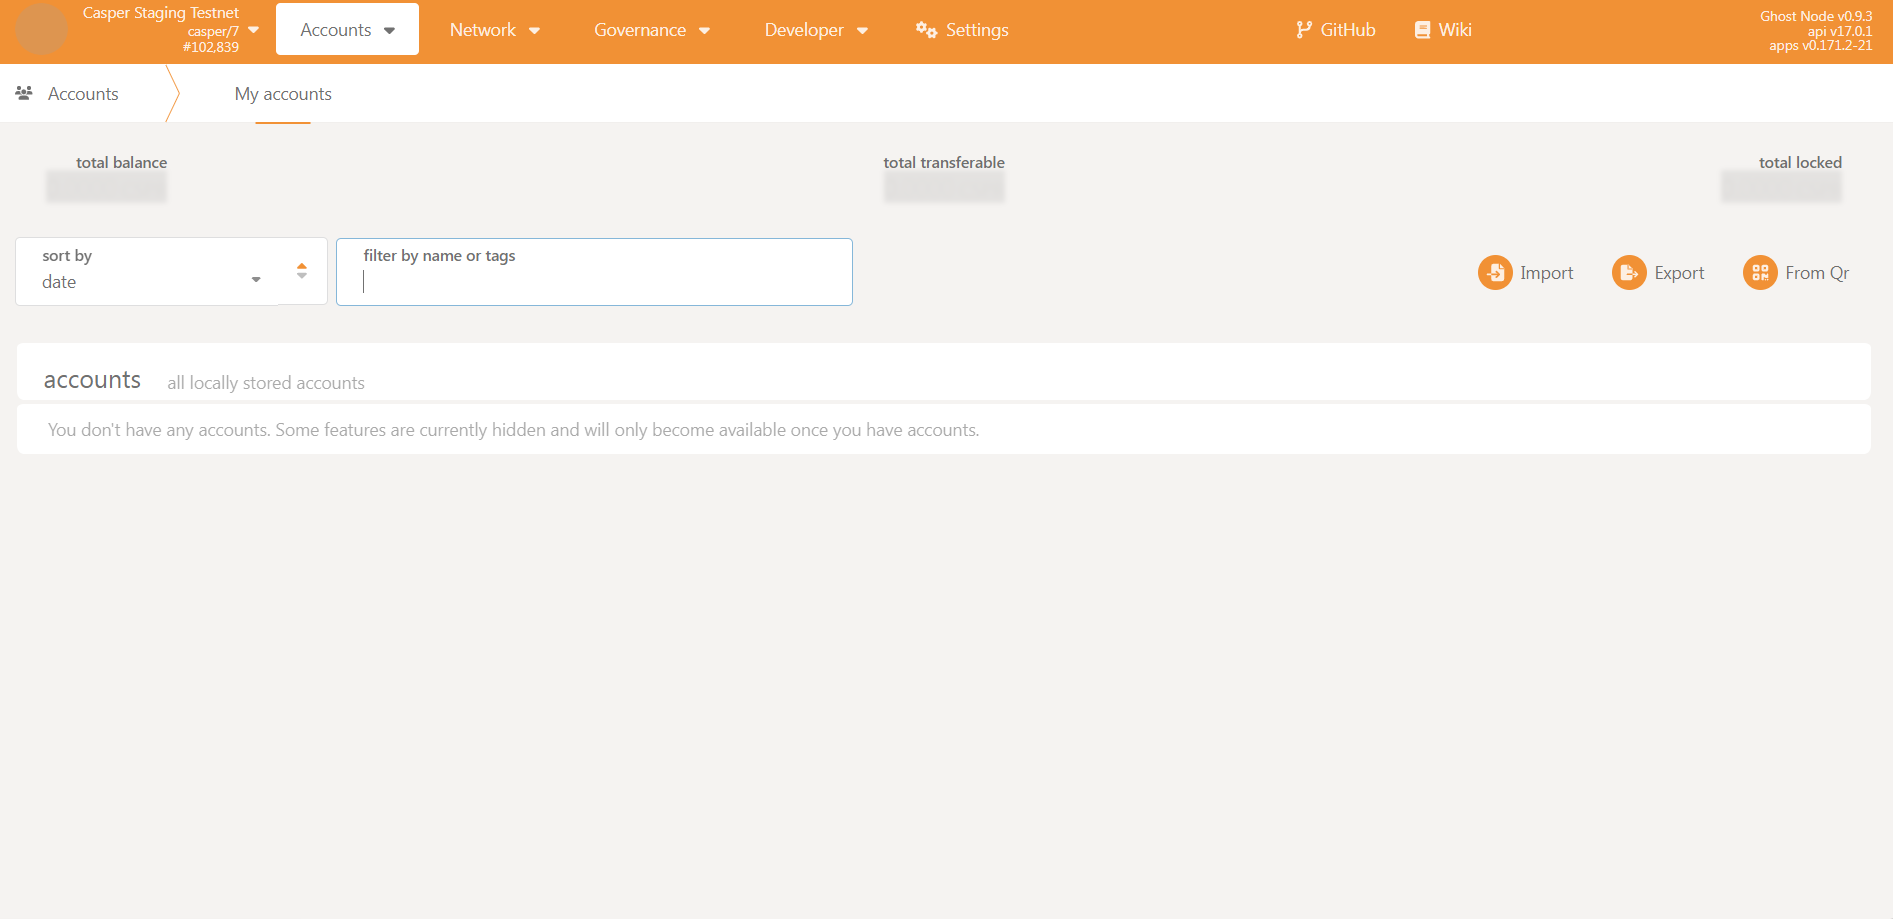
Your Stash Account should already be there, see Step 7.
If you are a validator, now you can manage your GHOST Node via Staking Page.
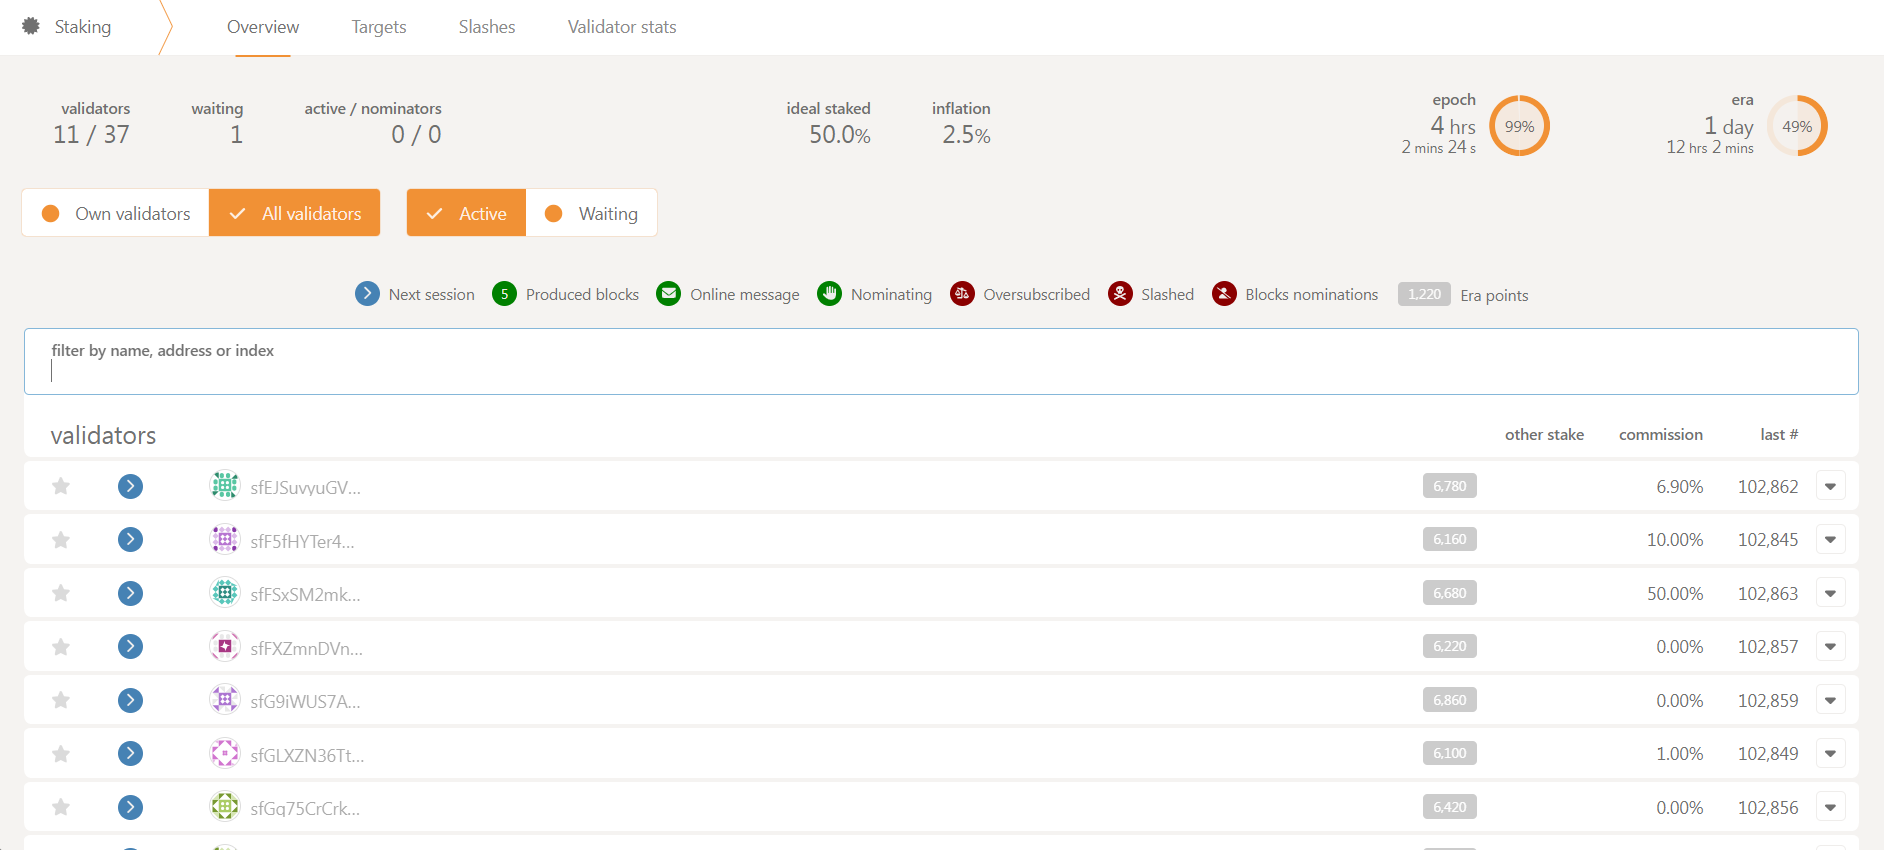
You can Send $CSPR to other addresses.
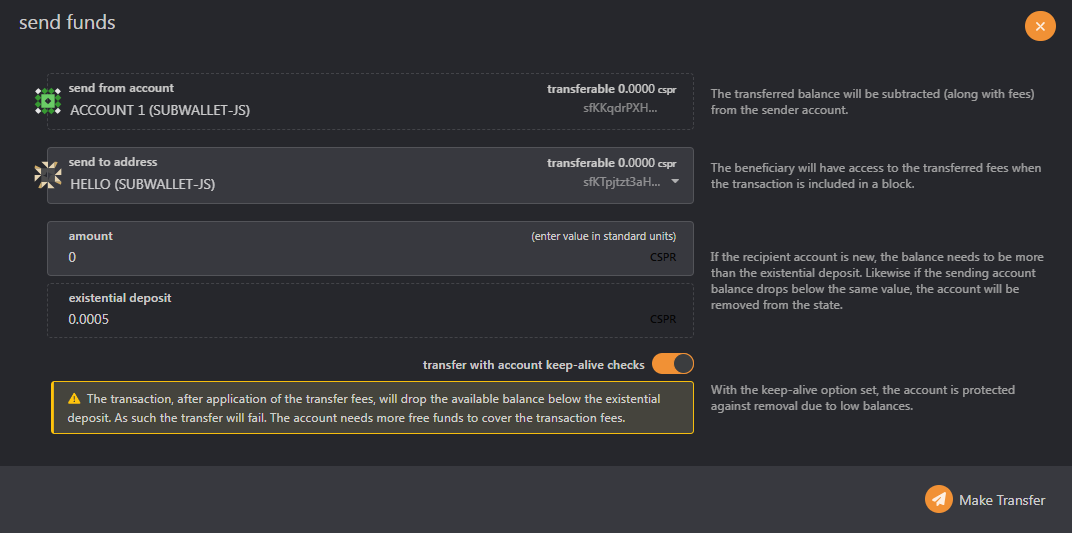
You can even see the live explorer.
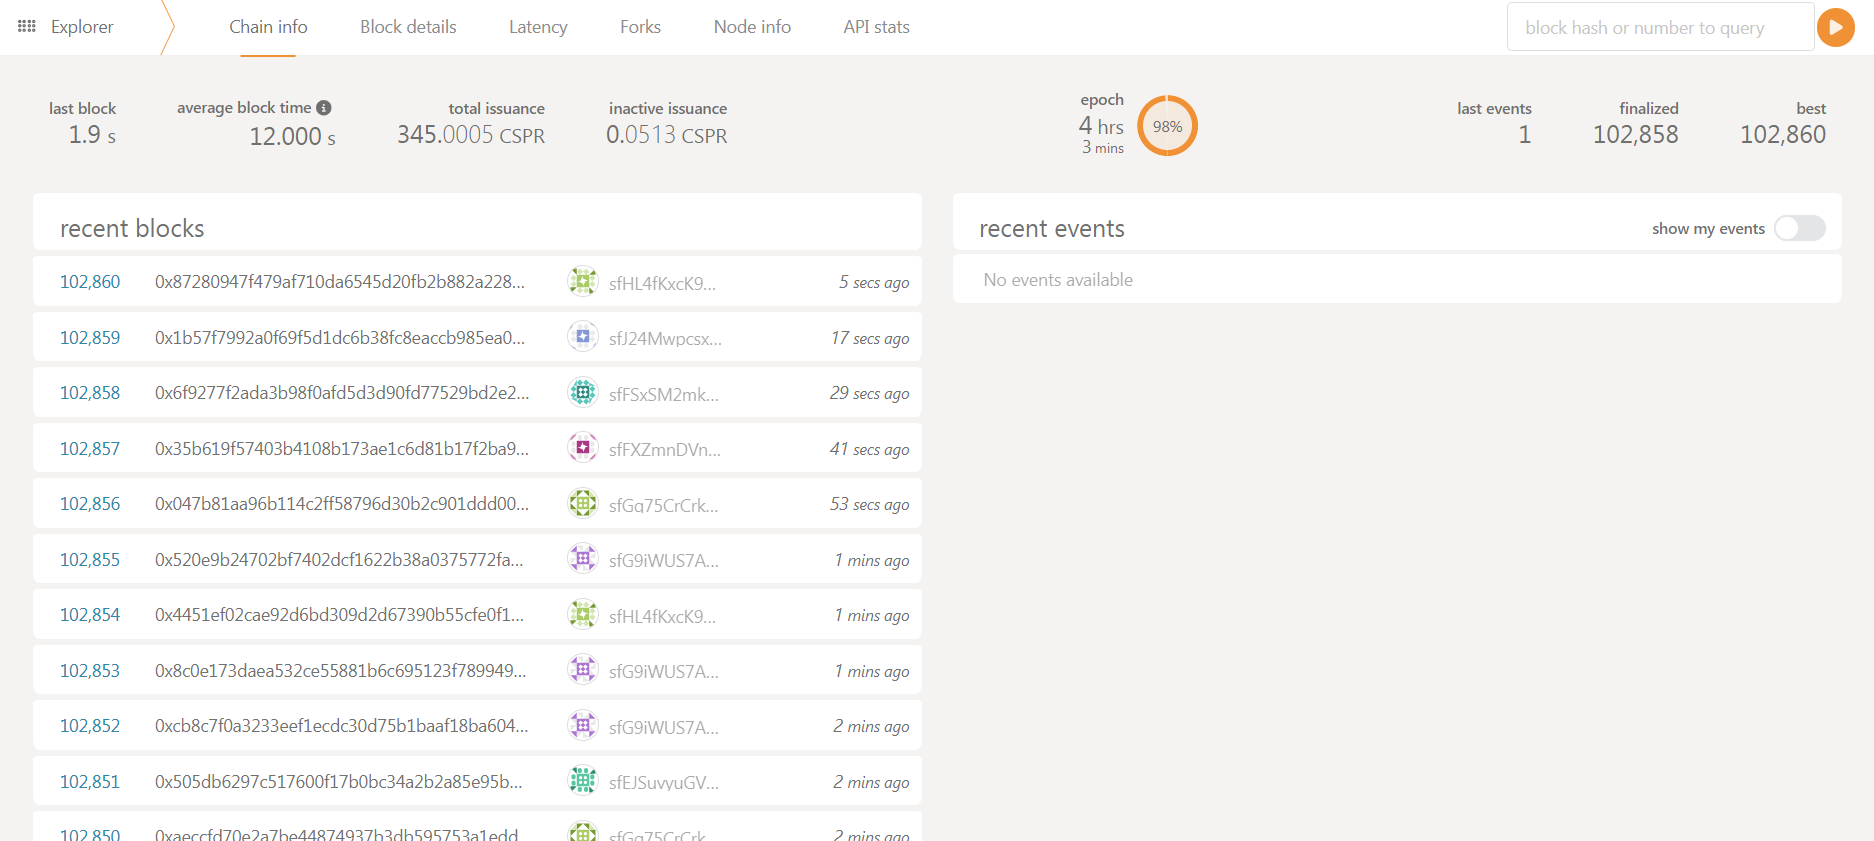
If you’ve made it this far congratulations! Let me know in the comments if it worked.
NOTE - What GHOST Project really needs is a publicly accessible RPC endpoint, then potential new users won’t even have to run their own nodes. They’ll be able to simply plug in the Public RPC URL into the Polkadot JS Website and it will simply work 